Click the icon on the left for the Full Menu.
This will display the Full menu in a tabular form, with four sections, Registration, Status, Cashier and Other.
Select Other => from the Other section. This will display the Other Front Desk Tasks Menu, which has four sections, Other List 1, Other List 2, Documents and Web.
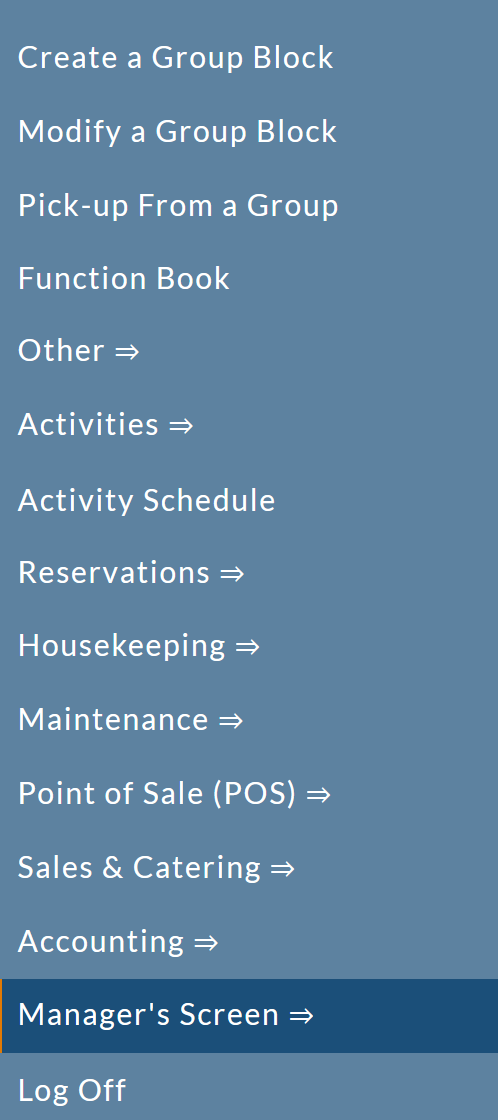
Select Manager's Screen to be taken to the Managers Commands menu.
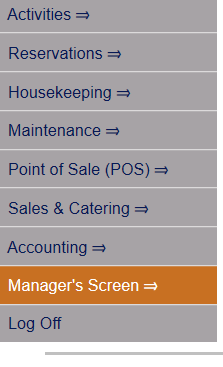
OR: Select Managers Screen => from the Quick Menu on the left side of the screen, to be taken directly to the Managers Commands menu.
The Manager's Command screen menu has two sections, Manager's Configuration and Manager's Maintenance.
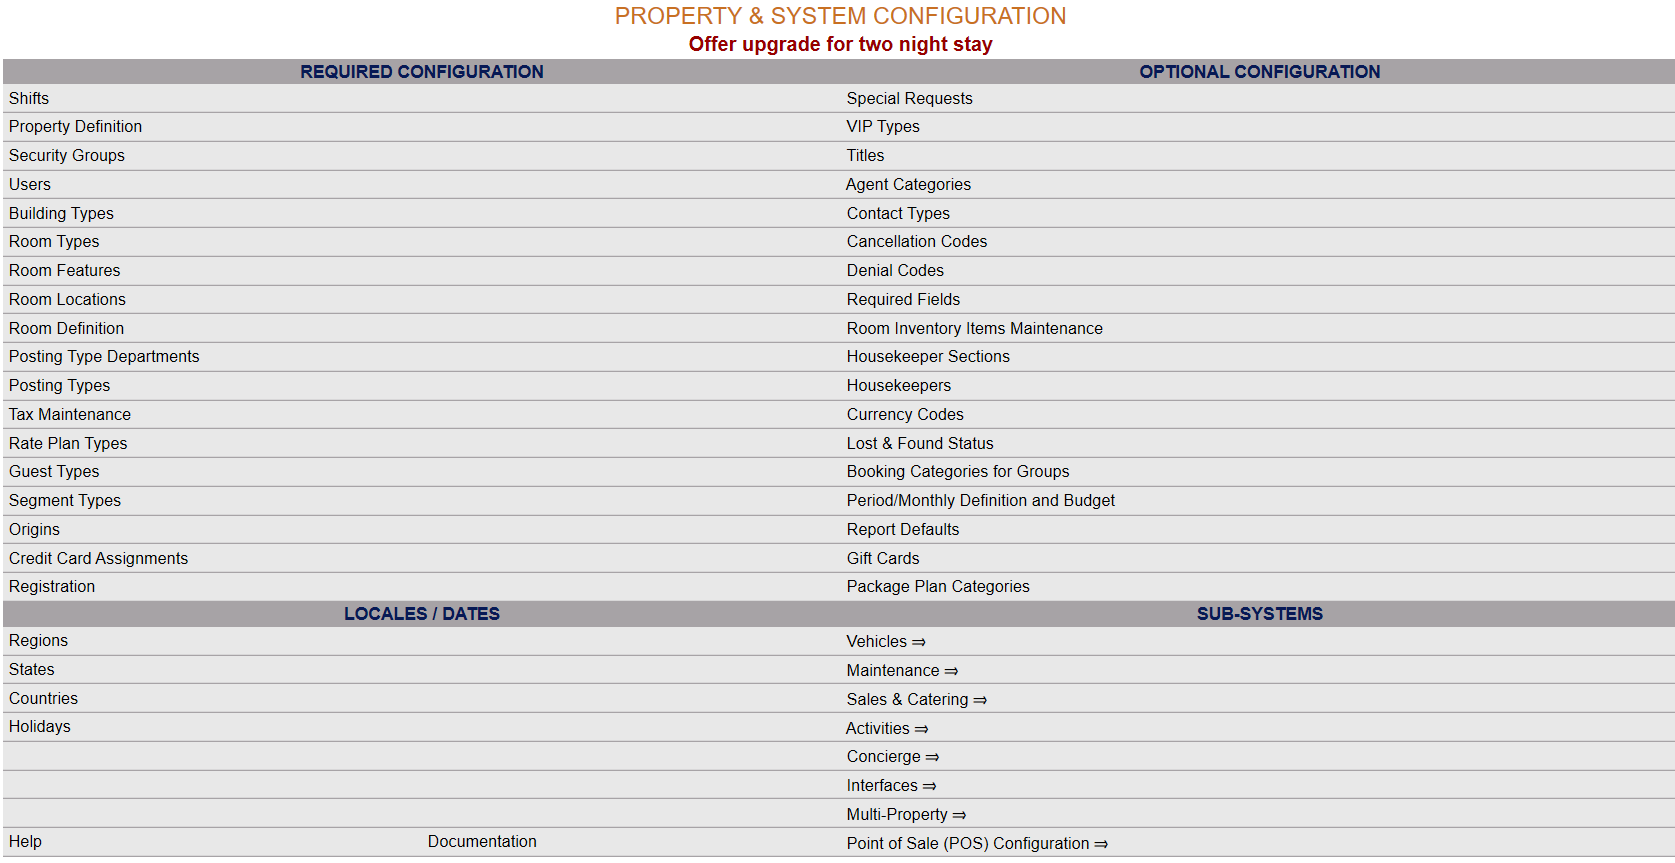
Select Configuration to be taken to the Property and System Configuration menu. The list of property configuration options are divided into four sections, which are Required Configuration, Optional Configuration, Locales/Dates and Sub-Systems.
Alternately, you may also be able to select Configuration => directly from the Quick Menu, if the menu has been set up to include the Configuration option.
Select Posting Types from the Required Configuration section.
The Post Type Maintenance screen display is split into two frames, with the left side of the screen listing the Post Types already defined and the right side containing the fields you need to complete in order to add or edit the configuration for a Post Type. Any changes made on the right, once saved, will be updated in the listings to the left.
By Default, the General tab will be open when you arrive at the Post Types Maintenance screen. The large majority of the required information is located on this tab. If you are a multi-Property user of Skyware Systems, there will be another tab available, the Multi-Property tab.
The currently configured options are displayed by:
All: This will be Yes or No. If you are a multi-Property Interface user of Skyware Systems, this refers to if the Posting Type in question is in use at all possible properties or one property only.
Hotel: The default Property Name the Posting Type is associated with.
Order: List Order of the Posting Types. If there is no list order number, the Posting Types will be displayed alphabetically.
Number: The number assigned to the Posting Type.
Department: The Posting Type Department, a grouping of specific Posting Types.
Short Name:: The short version of the name of the Posting Type (or how you wish to refer to it). How this Posting Type will appear on the guest’s folio.
Selecting any Posting Type on the left will display the details on the right.
Your options include the following:
Generate a new entry:
Click the New ![]() button from the toolbar to add a new Posting Type.
button from the toolbar to add a new Posting Type.
Complete the fields described below.
OR:
Select an existing Posting Type from the list on the left, and click the Replicate ![]() button from the toolbar. Then change the field information as described below.
button from the toolbar. Then change the field information as described below.
Edit the current selection:
Change the field information described below.
The General tab contains a lot of required information, and is sub-divided into three main sections, information about the Posting Type itself, information on how the Posting Type is used, and information on how the Posting Type is defined, which allows the selection of the default Posting Types for use by your Staff.
Post Type #: This is the number assigned to the Posting Type.
This field is required.
List Order: This is the order the Posting Types will be displayed in the interface.
In this case, due to the large number of possible Posting Types, the List Order number has two places after the decimal point; it is recommended that you order Posting Types according to Department, to group them together for display purposes. (For example, using the number 11 to represent the fact that the Posting Type is in the Department Gift Shop, with each Posting Type in that Department starting with 11; 11.00, 11.01, 11.02 etc).
Inactive?: This box may be checked or unchecked. By default it is unchecked.
It should only be checked if the Posting Type is no longer in use.
Once a Posting Type has been added to the list on the left, it will remain in the list (cannot be deleted) if there has been any checks created for it. Once a check is created, it exists in several places in the system, and therefore there cannot be a check for something that does not exist.
Department: This is a drop-down menu of available Posting Type Departments, as defined by your property. Select one.
This field is required. If the Department you require is not available, you may edit your configuration, see Posting Type Departments for more information.
Payment Type: Payment type of Posting (required for Deposit or Payment). This is a drop-down menu of available options. select one.
Note: If the Payment Type option you have selected is Credit Card, the screen will automatically refresh and additional fields will become available below the Credit Card Type field for adding any fees associated with using the credit card.
Short Name: This is the Posting Type Short Name, and this is how the Posting Type will appear on the guest’s folio.
This field is required.
Long Name: This is the long name of the Posting Type, and is a more detailed description of the Posting Type. Appears on some reports.
This field is required.
Category: This is a drop-down menu of available Categories for the Posting Type. Select one.
A/R Account #: Accounts/Receivable. This is a direct billing account. This may also sometimes be called a City ledger (C/L). Use this if the stay is being billed directly to a Company. If you make a selection here, this will be the A/R account this Posting Type will automatically be assigned to. If you do not know the number, use the search box to generate a pop up window with all available A/R accounts to select one.
General Ledger: General Ledger Number for the Posting Type. This number is required if the revenue numbers from this Posting Type are to be extracted and exported automatically for accounting purposes. For more details, please see How to Configure Accounting Extract Exports.
Note: General Ledger numbers are obtained from the accounting system used by the Property, not from Skyware.
LL Revenue ID: Lodging Link Revenue ID.
Credit Card Type: If in the Payment Type option you have selected Credit Card for this Posting Type, you must use the drop-down menu here to select a type from the options available .
Package Plan Category (Revenue Only!): Depending on the options previously selected, this field may or may not be available. This EXCLUDES room revenue.
Note: This option is ONLY available AFTER the posting type has been saved. Prior to the posting type being saved for the first time, the field will be grayed out.
If in the Payment Type option you have selected Credit Card for this Posting Type, then additional fields will be seen here, allowing you to charge a fee for using the card.
Additional %: Additional percent to add to this transaction. Enter the percentage value (for example 3.5) into this field that should be added to the transaction. By default the value is 0. If a number is entered, any transactions using this Posting Type will have the amount calculated using the percentage entered here added to it automatically.
Additional Amount: Additional amount to add to this transaction. Enter the amount (for example 10) into this field that should be added to the transaction. By default the value is 0.00. If a number is entered, any transactions using this Posting Type will have the amount entered here added to it automatically.
If the additional % or additional amount fields are used, when a charge is posted using this Posting Type, the figure calculated will be automatically added to the total. (For example, using the additional % field with 3.5 entered, if a posting of $100 was made using this Posting Type, the amount charged to the credit card would be $103.50. If instead the additional amount field is used with 10 entered, the amount charged would be $110 for the $100 transaction).
Fee Type: Fee Posting Type for the additional percentage or amount added to the transaction. This is a drop-down menu of available options; select one if a number has been entered in the additional percentage or amount fields. The additional amount calculated on the transaction (the fee) will be applied to the selected Fee Posting Type, rather than this Posting Type.
This boxed section contains various questions that help define how your Posting Type is used.
Checked = Charge (+), Unchecked = Credit (-): This box may be checked or unchecked. By default it is unchecked.
Can this posting type be used as a Deposit?: This box may be checked or unchecked. By default it is unchecked.
Can this posting type be used as a Payment?: This box may be checked or unchecked. By default it is unchecked.
Can this posting type be used as a Direct Bill?: This box may be checked or unchecked. By default it is unchecked.
Default Club Card Posting Type?: This box may be checked or unchecked. By default it is unchecked.
Count this posting type as Room Revenue?: This box may be checked or unchecked. By default it is unchecked.
Check any that apply.
You can also add any Posting Type Taxes in this section. Once attached, tax will automatically post in addition to the charge of the post type.
Note: This option is ONLY available AFTER the posting type has been saved. Prior to the posting type being saved for the first time, the "Add" button will not be shown.
Click on the "Add" button to be taken to the Posting Type Taxes screen where you can select from the available tax types to add to the Posting Type. You can delete any already added by clicking on the "X" .
If you wish to add any Interface Protocols:
Click on the "Add" button to be taken to the Interface Protocols screen where you can select from the available Interface Protocols to add to the Posting Type.
Note: Again, this option is ONLY available AFTER the posting type has been saved. Prior to the posting type being saved for the first time, the "Add" button will not be shown. You can delete any already added by clicking on the "X" .
This boxed section contains various questions that help define your Posting Type, and set up the default Posting Type for many situations.
Note: You should have a Posting Type for each default to allow the charges to be posted correctly.
Is this the Default Refund Posting Type?: This box may be checked or unchecked. By default it is unchecked.
Is this the Default Paid Out Posting Type?: This box may be checked or unchecked. By default it is unchecked.
Can this posting type be used as a Balance Transfer?: This box may be checked or unchecked. By default it is unchecked.
Quick ID Required for this Posting Type: This box may be checked or unchecked. By default it is unchecked.
Passcode Required for this Posting Type: This box may be checked or unchecked. By default it is unchecked.
Is this the Default Local Phone Call Posting Type?: This box may be checked or unchecked. By default it is unchecked.
Is this the Default Long Distance Phone Call Posting Type?: This box may be checked or unchecked. By default it is unchecked.
Default POS to Guest Folio Posting Type?: This box may be checked or unchecked. By default it is unchecked.
Default Discount Posting Type?: This box may be checked or unchecked. By default it is unchecked.
Default POS Gratuity Posting Type?: This box may be checked or unchecked. By default it is unchecked.
Default POS Void Posting Type?: This box may be checked or unchecked. By default it is unchecked.
Default Pet Fee Posting Type?: This box may be checked or unchecked. By default it is unchecked.
IF you have checked the Default Pet Fee Posting Type? box, you should use one of the following options to input how much the pet fee would be - enter the desired amount into the Amount per Stay OR the Amount per Night field, depending on how you wish to charge pet fees. By default these fields are both set at 0.00.
Free: This box is also associated with the Default Pet Fee Posting Type? option, and represents the free number of pets before charges apply - If you wish to allow up to a certain number of pets to stay free before adding a pet fee, enter the number into this field. For example, if the first pet is free but subsequent pets have a fee associated, you should enter 1 into this field. By default it is set to 0.
Unlimited pets: Again, this box is associated with the Default Pet Fee Posting Type? This box may be checked or unchecked. By default it is unchecked. Only check this box if you will allow unlimited numbers of pets for the one fee charged.
Default Condo Origin Commission?: This box may be checked or unchecked. By default it is unchecked.
Default Condo Property Commission?: This box may be checked or unchecked. By default it is unchecked.
Count this posting type as Travel Agent Commission?: This box may be checked or unchecked. By default it is unchecked.
Activity ONLY Balance Transfer Posting Type?: This box may be checked or unchecked. By default it is unchecked.
Note: When using the Activities module of Skyware, if you wish to be able to take a deposit for an Activity ONLY (i.e. one NOT associated with a stay), you must have a Posting Type with this box checked to allow the charges to be posted correctly. If not, any activities not associated with a stay cannot have a deposit taken, they can only be charged for at the Point of Sale. This includes online.
Default Electric posting type: This box may be checked or unchecked. By default it is unchecked.
Amount per KWh: Associated with the Default Electric posting type. Enter the amount that will be charged per KWh of electricity used. By default, the Amount per KWh field is set at 0.00. This must be changed for the default electric posting type, otherwise any electrical charges calculated will always be 0.
For any question referring to a DEFAULT option it is recommended that you DO have a Posting Type generated in Skyware Systems and set as a default for your staff to use.
If you have multiple Properties with Skyware Systems, the Posting Types screen will have a second tab titled Multi-Property. On this tab, you get to specify where the Posting Type is available.
Default Hotel: This is the Property used as the default option for the Posting Type. Your available Properties will be listed in the drop-down menu. Select one.
This field is required. Every Posting Type must be associated with at least one Property.
This posting type is available to all properties?: This box may be checked or unchecked. By default it is unchecked. You may decide if a Posting Type is specific to a certain Property, or not. If the box is checked, the Posting Type will be available throughout all your Properties with Skyware Systems.
When you are finished adding or editing any Posting Types, click the Save ![]() button to save the changes.
button to save the changes.
To view any changes made, click the Activity log ![]() button in the local tool bar.
button in the local tool bar.


